Reading Time: 3 minutes
Cloudflare is a CDN (content delivery network), it allows people around the world to view your website information faster. It places your website’s data on multiple servers around the world, this way when someone tries to access your website they are connected to the closest source of data, reducing load times for customers. Using Cloudflare means moving your domain’s DNS management to them. For more in-depth information on the services they provide you can check out Cloudflare.
We are already known Cloudflare is a free content delivery network who provides the protection to the websites for free of cost. Cloudflare is not only used for protecting the websites from attacks, it’s also known as to decrease the server load and supercharge the websites with awesome speed. Follow this tutorial to find out how to add a website to CloudFlare.
- First you need to create a account on CloudFlare and Log in to your Cloudflare account.
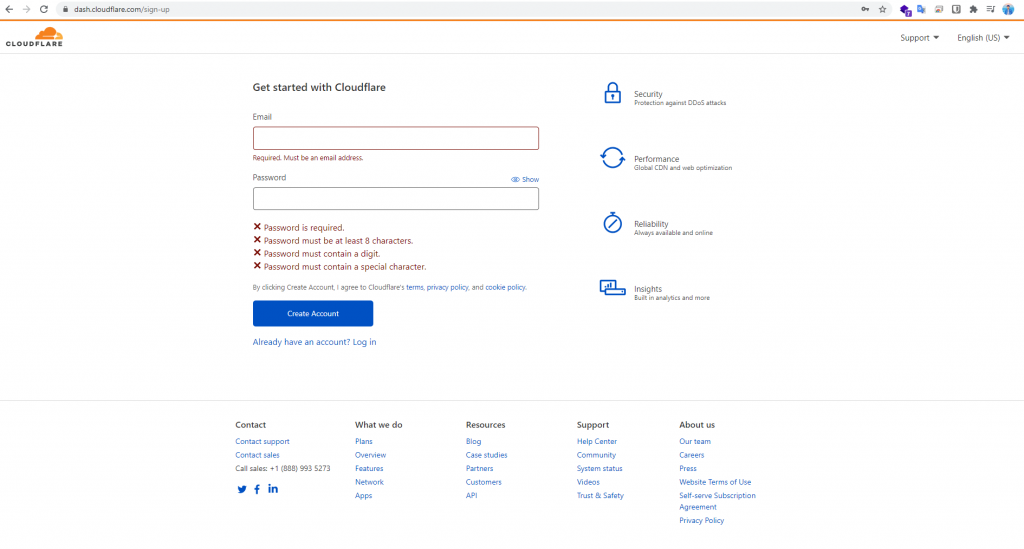
2. Click on Add site from the top navigation bar.
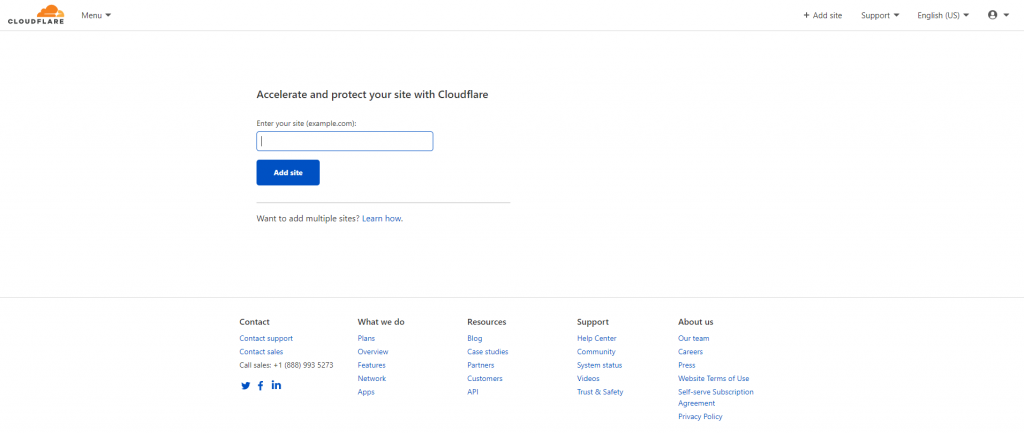
3. Enter your website’s root domain and then click Add Site. For example, if your website is www.example.com, type example.com.
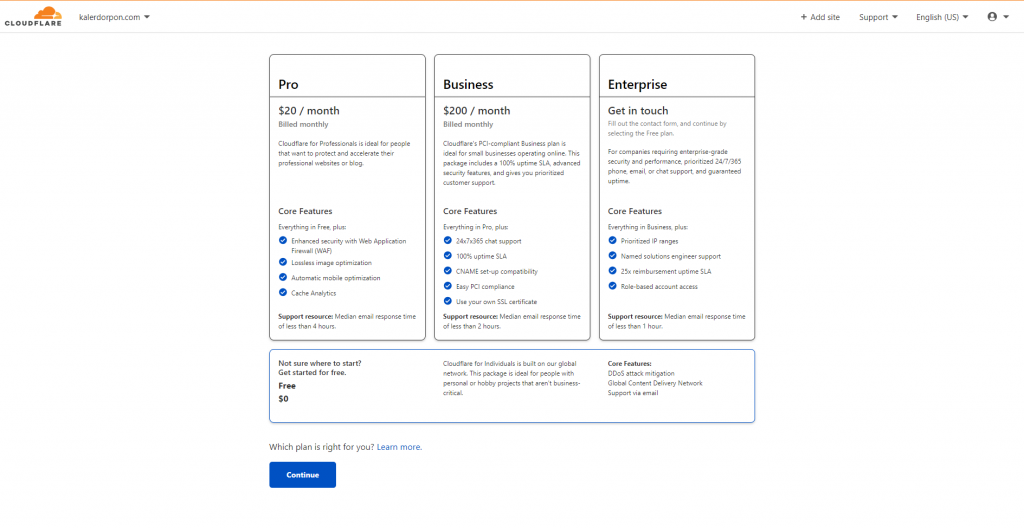
4. Click Continue in the Confirm Plan window that appears. We can choose Free plan then
5. Cloudflare will attempt to automatically identify your DNS records. This process takes approximately 60 seconds to complete.
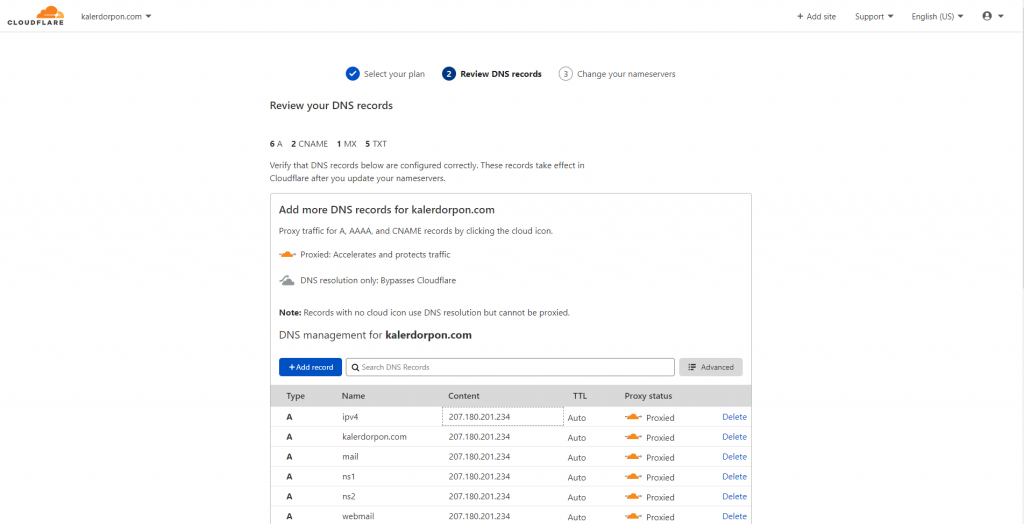
6. Click Continue.
7. Copy the 2 Cloudflare nameservers displayed and click Continue.
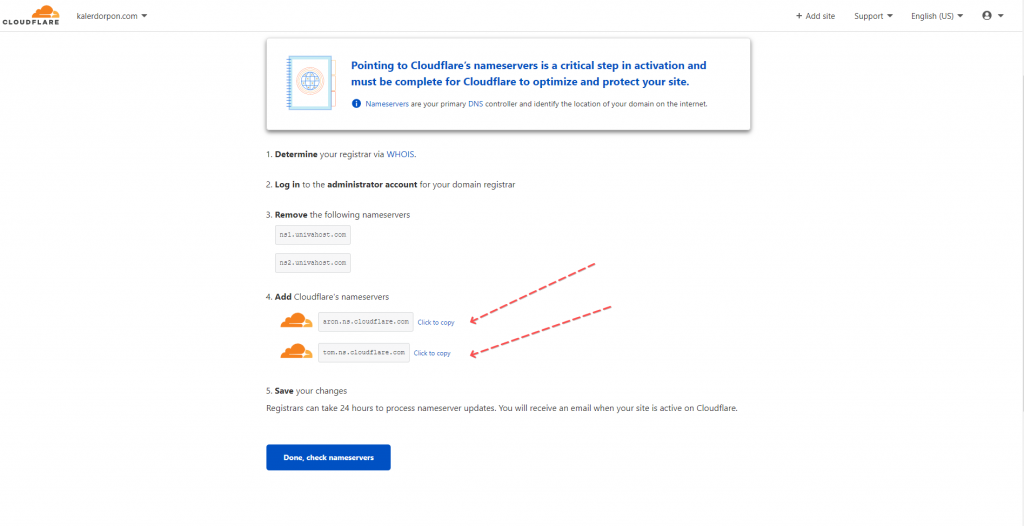
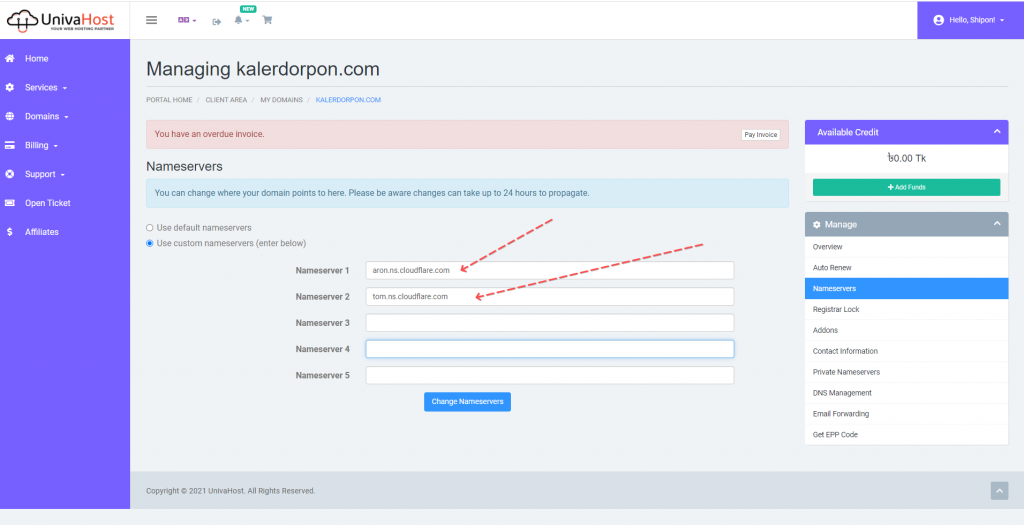
8. Now go UnivaHost Domain Control panel and replace your existing 2 Nameserver on your domain, Registrars can take 24 hours to process nameserver updates. You will receive an email when your site is active on Cloudflare.
9. Done, check nameservers
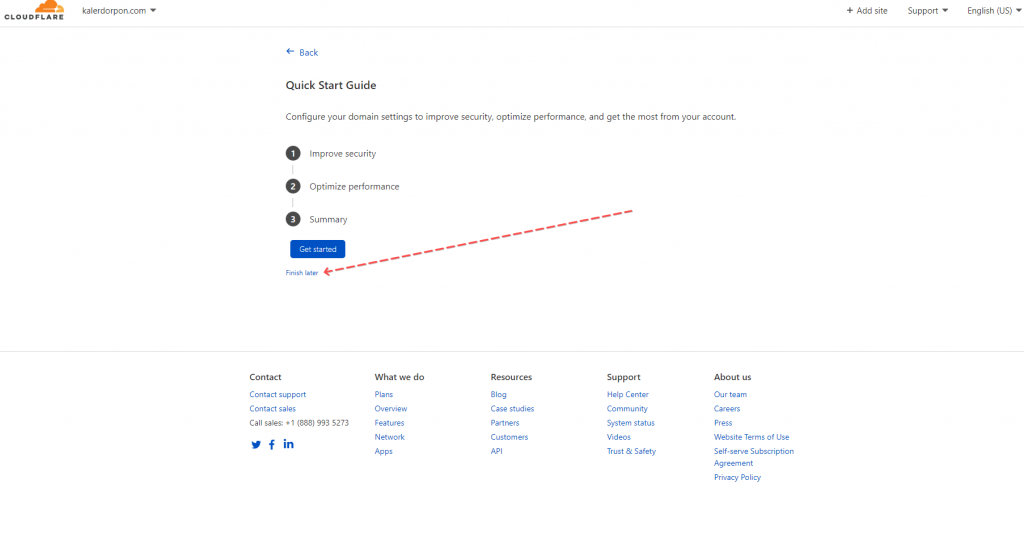
10. Now click Finish later Button, domain setup and activate your domain on Cloudflare Complete
NOTE: It is not recommended to modify or Change DNS records at this stage as you will be able to do this after the setup is complete.
