Reading Time: 2 minutes
The WordPress REST API has revolutionized the way developers interact with WordPress websites, offering seamless integration with other applications and services. In this comprehensive guide, we will walk you through the process of utilizing the WordPress REST API effectively, empowering you to leverage its capabilities and extend the functionality of your WordPress site.
Understanding the WordPress REST API
The WordPress REST API is a software architectural style that allows web services to communicate with each other using HTTP. It was introduced as a separate project in 2013 and later integrated into the WordPress core in 2015. This API provides developers with a built-in interface to interact with WordPress, opening up endless possibilities for customization and integration.
How the WordPress REST API Works
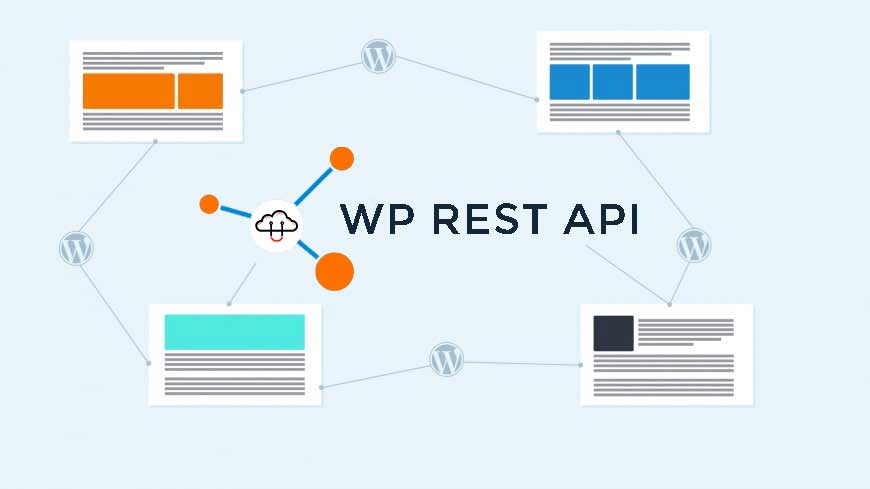
The WordPress REST API functions through HTTP endpoints, which represent different data types in WordPress, such as posts, pages, and users. These endpoints enable developers to retrieve, create, update, and delete data by sending HTTP requests. The data is exchanged in a standardized format called JSON (JavaScript Object Notation), which is easily readable and widely supported.
Getting Started with the WordPress REST API
Step 1: Authentication and Authorization
Before diving into the REST API, it’s crucial to understand the authentication and authorization mechanisms. WordPress REST API supports various authentication methods, including OAuth, cookie-based authentication, and application passwords. Choose the method that best suits your project’s requirements and ensure you have the necessary permissions to access the desired data.
Step 2: Exploring API Endpoints
Familiarize yourself with the available API endpoints by studying the official WordPress REST API documentation. The documentation provides a comprehensive list of endpoints, along with the supported methods and parameters. Take time to understand the structure of the endpoints and the data they can retrieve or manipulate.
Step 3: Making API Requests
To interact with the REST API, you’ll need to make HTTP requests using a programming language or a tool like cURL or Postman. Learn how to construct GET, POST, PUT, and DELETE requests to retrieve, create, update, and delete data from your WordPress site. Use the appropriate endpoint URLs, add necessary parameters, and include any required authentication headers.
Section 4: Practical Examples
Example 1: Retrieving Posts
Let’s say you want to retrieve a list of posts from your WordPress site using JavaScript and the Axios library:
const axios = require('axios');

axios.get('http://yourdomain.com/wp-json/wp/v2/posts')
  .then(response => {
    const posts = response.data;
    console.log(posts);
  })
  .catch(error => {
    console.error('An error occurred:', error);
  });
Example 2: Creating a New Post
To create a new post using the REST API, you can use a POST request with the /wp/v2/posts endpoint:
axios.post('http://yourdomain.com/wp-json/wp/v2/posts', {
    title: 'My New Post',
    content: 'Lorem ipsum dolor sit amet...',
    status: 'publish'
  })
  .then(response => {
    console.log('Post created:', response.data);
  })
  .catch(error => {
    console.error('An error occurred:', error);
  });
The WordPress REST API is a powerful tool that allows developers to integrate WordPress with other applications, create custom functionality, and automate tasks. In this guide, we have explored the basics of the REST API, including authentication, endpoint exploration, and making API requests. We also provided practical examples to retrieve posts and create new posts using JavaScript. Armed with this knowledge, you can now take full advantage of the WordPress REST API and unlock
