Reading Time: 3 minutes
This article will explain how to install Free Let’s Encrypt SSL/TLS certificate on Plesk control panel. The Web server provides different websites to make them accessible through web browsers. SSL certificates aren’t just for eCommerce anymore. Everyone needs encryption now since browsers provide insecure notices when they don’t exist and Google is using it as an SEO ranking indicator. As we all aware about the threat attacks. So, its’ our responsibility to ensure an protect our client’s data and provide security against the threat attacks. In this present time of online payments and services, online businesses, security is vital.
Note: Before you secure your domain with a Let’s Encrypt certificate, ensure the domain name is resolved to a public IP address of the Plesk server from the internet.
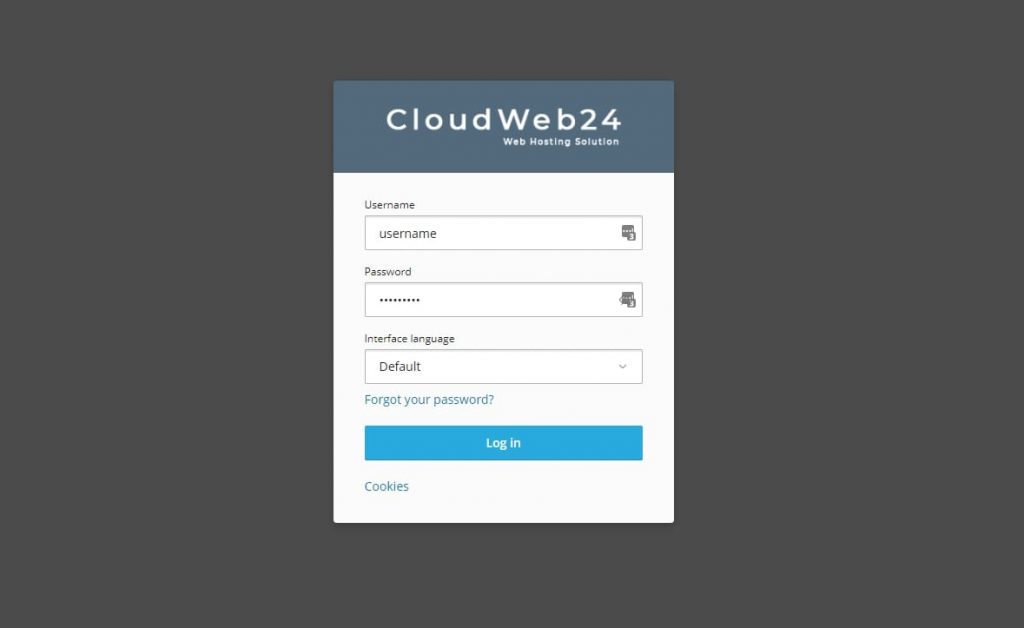
- Login Your Plesk Control Panel

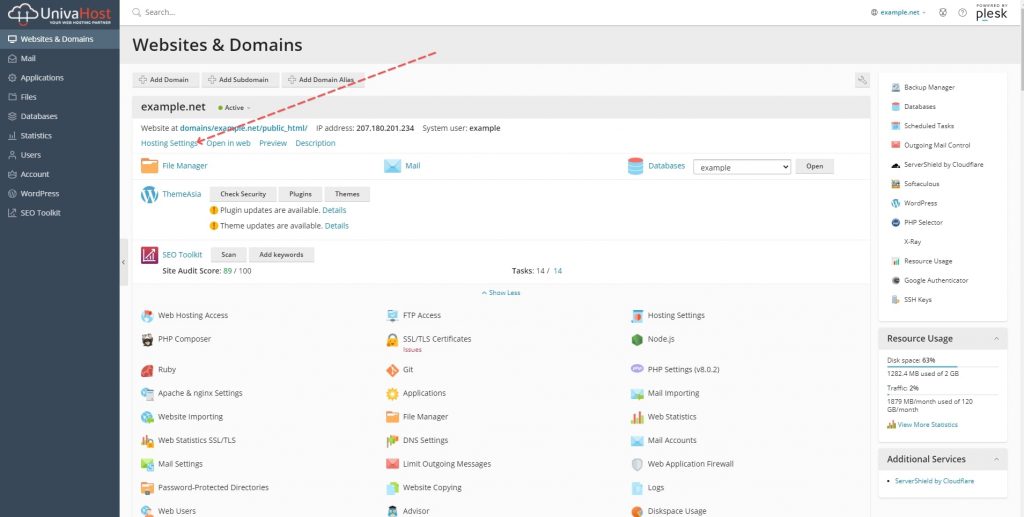
2. Go to Domains and select the domain you want to secure. Click Hosting Settings.

3. On the Hosting Settings page, make sure that SSL/TLS support is enabled.

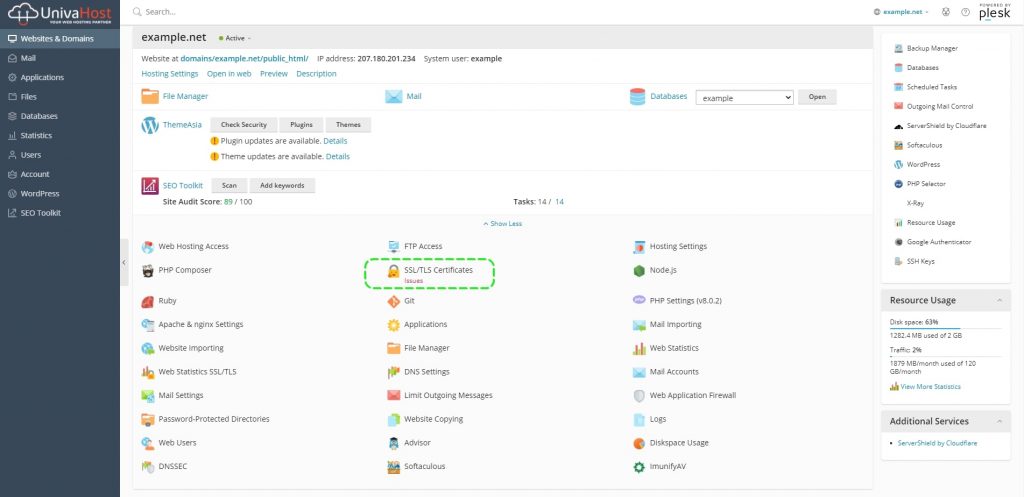
4. Go back to domain’s dashboard. Click SSL/TLS Certificates.

5. Click Get it free in the Let’s Encrypt section.

6. Select required options. We recommend to select:
- Include the “www” subdomain for the domain and each selected alias
- Secure webmail on this domain (https://webmail.example.com)
- Assign the certificate to mail domain
Note: Email addresses will be used to receive important notifications and warnings.

7. Click Get it free. At this stage, an SSL certificate from Let’s Encrypt is generated and set to secure the domain. This certificate is valid for the next 90 days and will be auto-renewed by the Let’s Encrypt extension.
